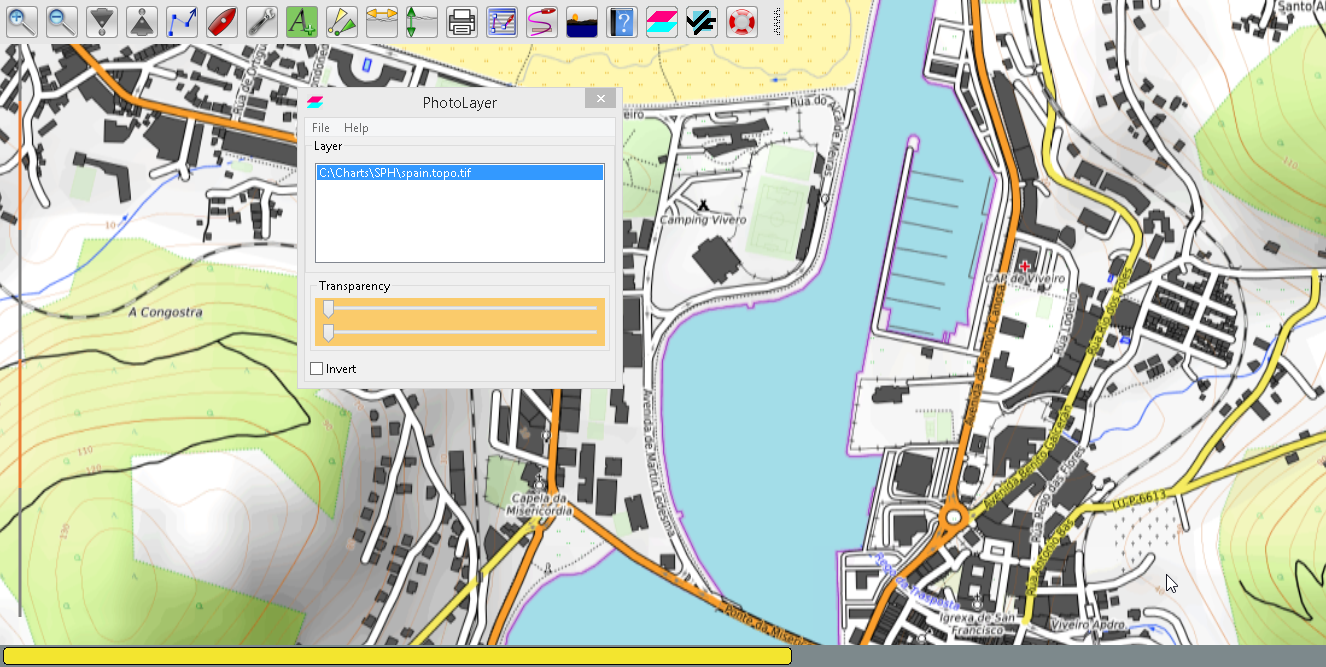
PhotoLayer

PhotoLayer reads satellite geotiff photo overlay files (with tranparency) which can then be displayed over the top of navigation charts. The website https://www.venturefarther.com has geotiff files available.
Aim
To improve the safety of navigation in inadequately surveyed areas of the world.
Using OpenGL it is possible to adjust the transparency of the GeoTiff photo overlay.This allows the comparison of features from the photo overlay with those shown on the chart. Where hydrographic surveys have not been carried out recently and the charts are not to WGS84 standard the photo overlay may provide a better guide to pilotage.
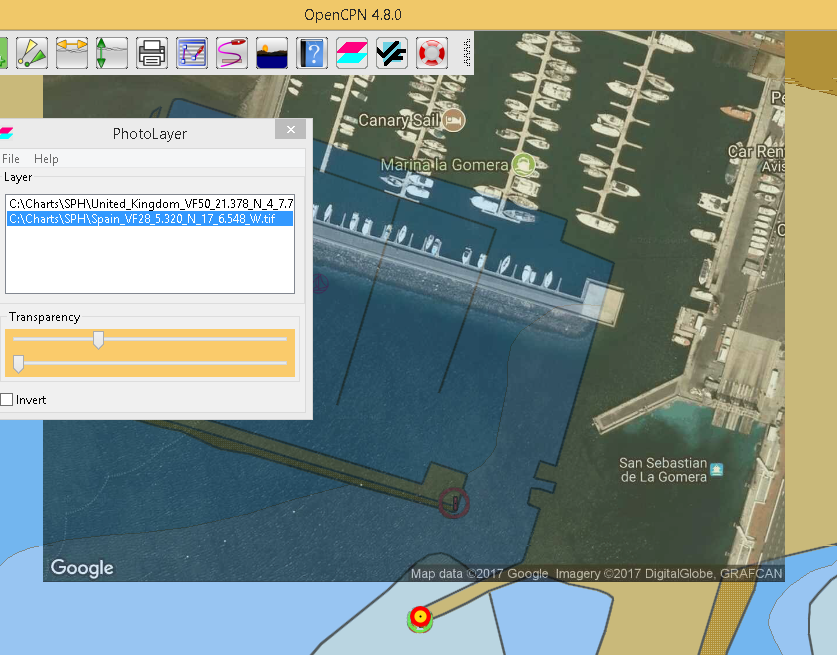
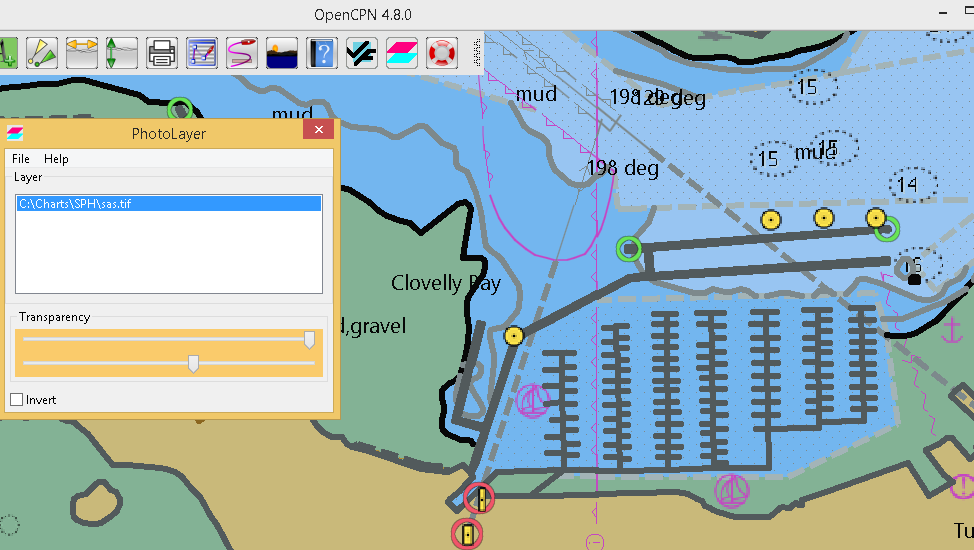
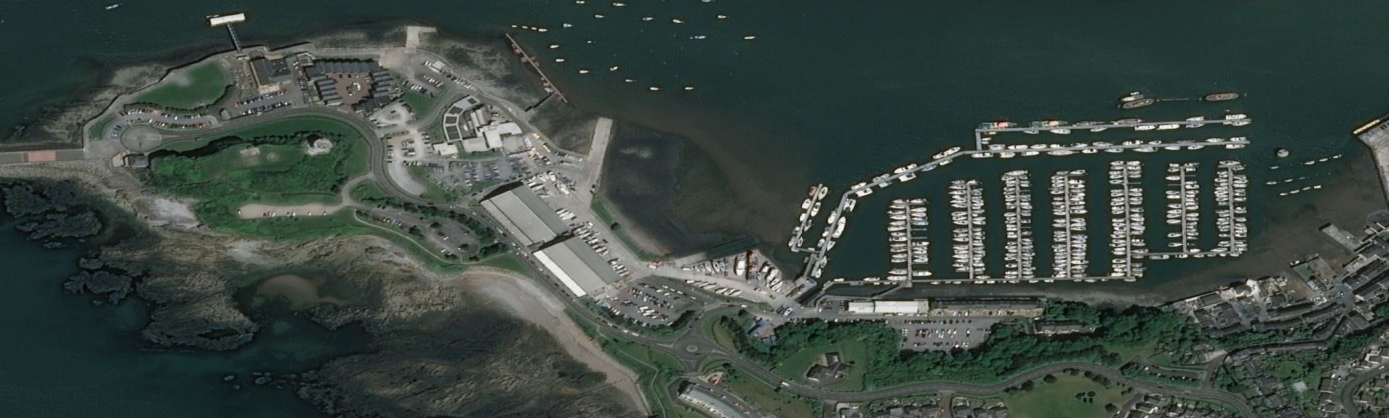
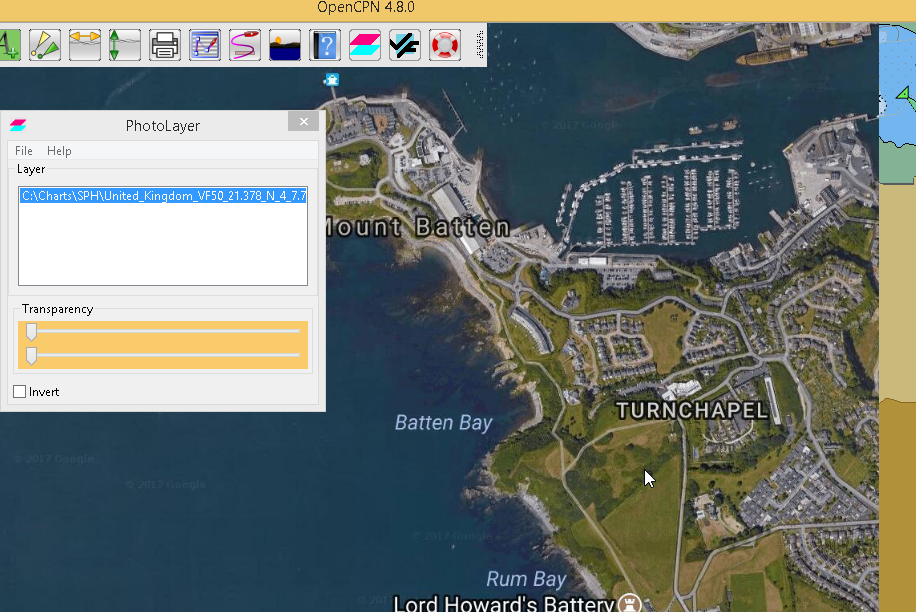
This photo overlay is for a marina in the Canary Islands. Note the position of the breakwaters.
1. What and Why
In some areas of the world a satellite chart is more accurate than the official chart. This plugin acts as a viewer for GeoTiff files. The GeoTiffs are made from satellite photos and they can also be obtained from other sources.
2. Install
If using OpenCPN 5.2 or later use the Plugin Manager. For older versions (Windows) use the .exe from here:
Mac OS users note that libgeotiff is needed. See Satellite geotiffs with transparency and perhaps you have forgotten to install libgeotiff from homebrew?
3. Standard actions
GeoTiff sources and the procedure for downloading these files is shown in this section.
| If making a KAP chart from a GeoTiff set the number of colours in 'Preferences' to, say, 64. The default setting of '2' will not work. |
Open the toolbox and enable 'PhotoLayer'. At the same time make sure that you are using OpenGL (Display → Advanced → Use Accelerated Graphics (OpenGL))
Apply/Ok and on the toolbar you will find the PhotoLayer icon.
Start the PhotoLayer plugin.
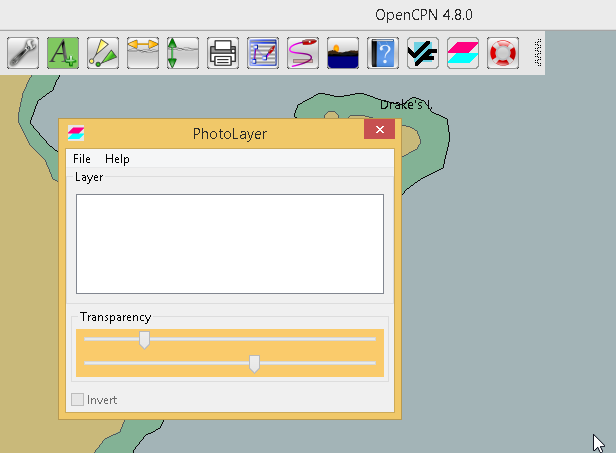
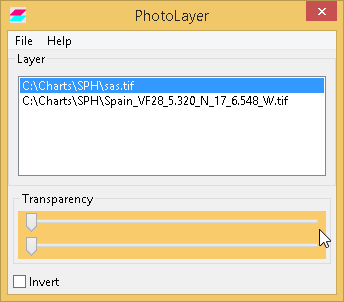
File → Open and select a GeoTiff. The location will change to match the photo overlay, which will appear superimposed.
By moving the top transparency slider the transparency can be adjusted. Complete transparency is shown here.
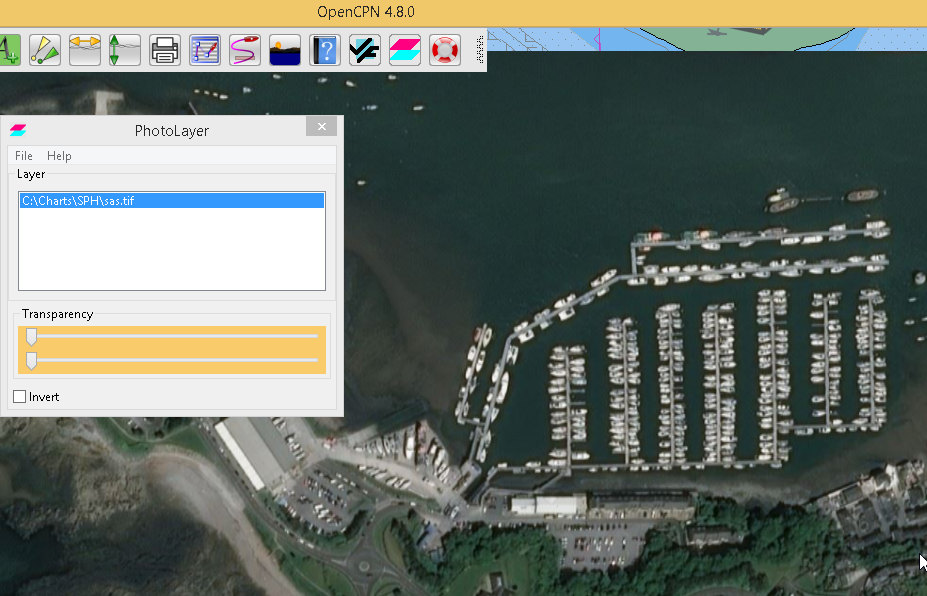
And no transparency with maximum brightness of the overlay is here.
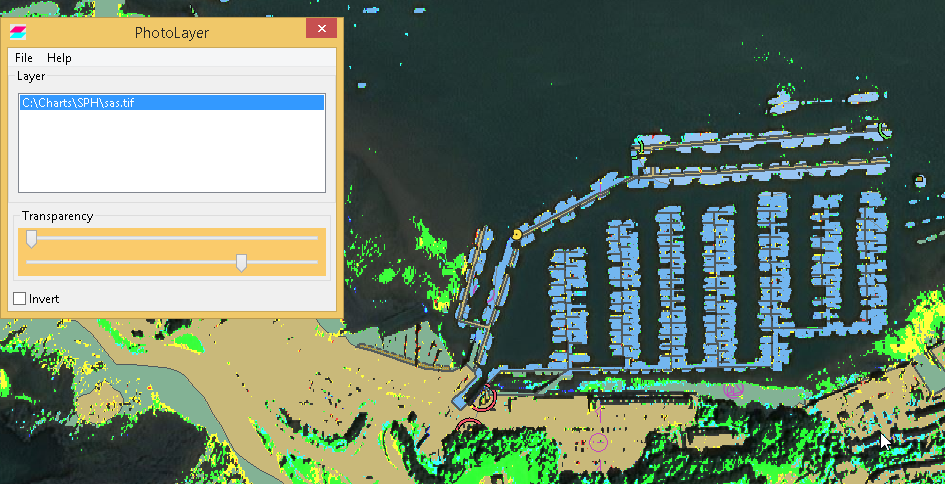
If you were not using OpenGL the transparency slider would not have worked. The brightness slider would have produced a picture like this. At maximum the overlay will disappear.
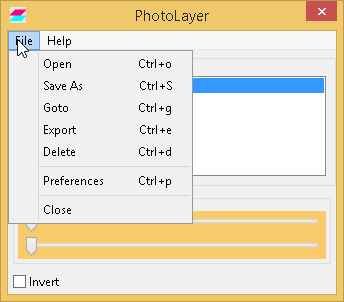
Options
The menu offers other options.
“Save As” allows you to save a .png image, made from the overlay file. Some distortion is noted.
“Goto” can be used if there are several overlays in the list, to move between the overlays.
“Preferences” is used in combination with the “Export” facility, which will create a kap chart file from the overlay.
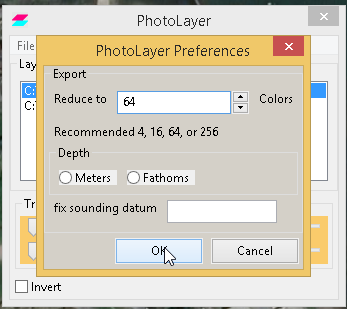
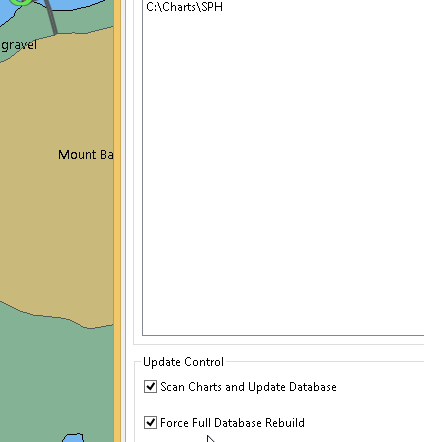
Set the number of colours as required. 64 works well. File→Export creates and saves the kap. In order to display the kap it is necessary to update the chart database.
And the photo chart is displayed.

Because of the kap format it is not possible to adjust the transparency of the photo chart. The GeoTiff must be used.
Menu “Delete” is to remove a GeoTiff from the list of overlays that have been opened. It does not delete the image file.
VentureFarther
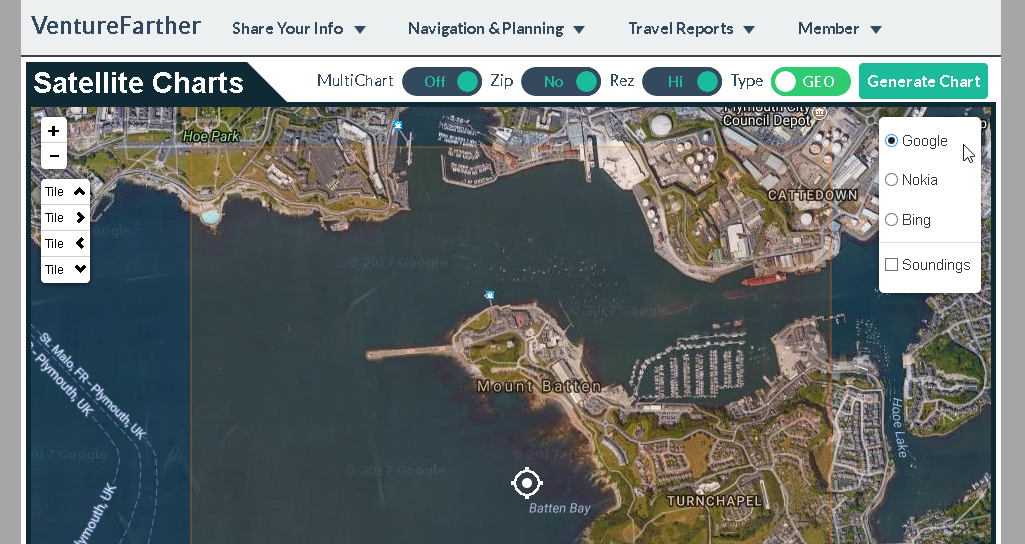
The VentureFarther website https://www.venturefarther.com allows the selection of an area, which can be downloaded as a GeoTiff.
You will need to register with VentureFarther and obtain your API key: https://www.venturefarther.com
Please read the 'Credits' page on the VentureFarther website. 1 Credit is used for each single satellite chart download. Making a 'Multi-Chart' download will use 9 credits, because it consists of 9 satellite charts. Credits can be earned by submitting cruising information or you may choose to purchase an annual subsciption.
The source is chosen and the slider moved from “KAP” to “GEO”. “Generate Chart” creates the GeoTiff which is downloaded to your system. It will appear in the directory you have chosen for file downloads from the Internet.
The GeoTiff can be opened with PhotoLayer. The transparency of the overlay can be adjusted, unlike the normal kaps from VentureFarther.
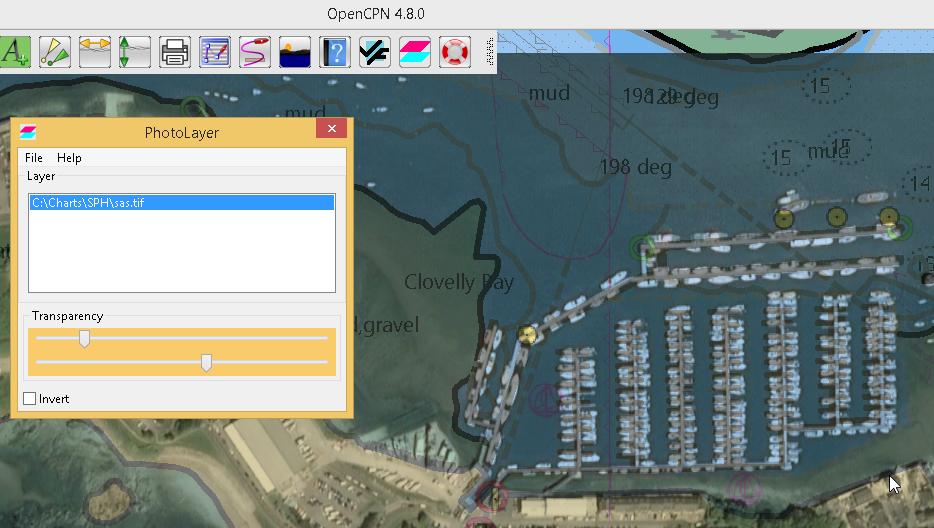
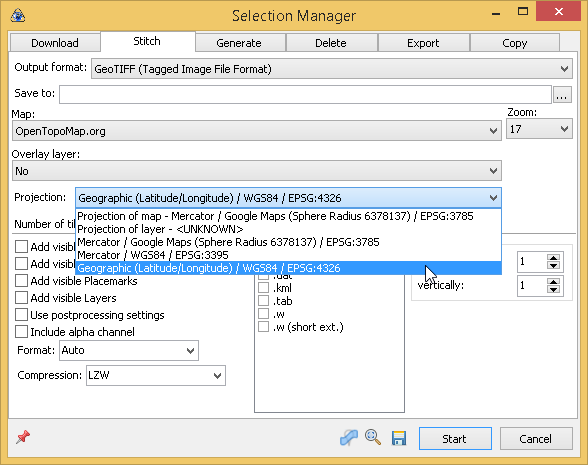
SASPlanet
The SASPlanet program can be downloaded The download is a zip file. Extracting the zip creates a folder “SAS.Planet.xxxxxxx”, in which is “SASPlanet.exe” which starts the program (from the folder).
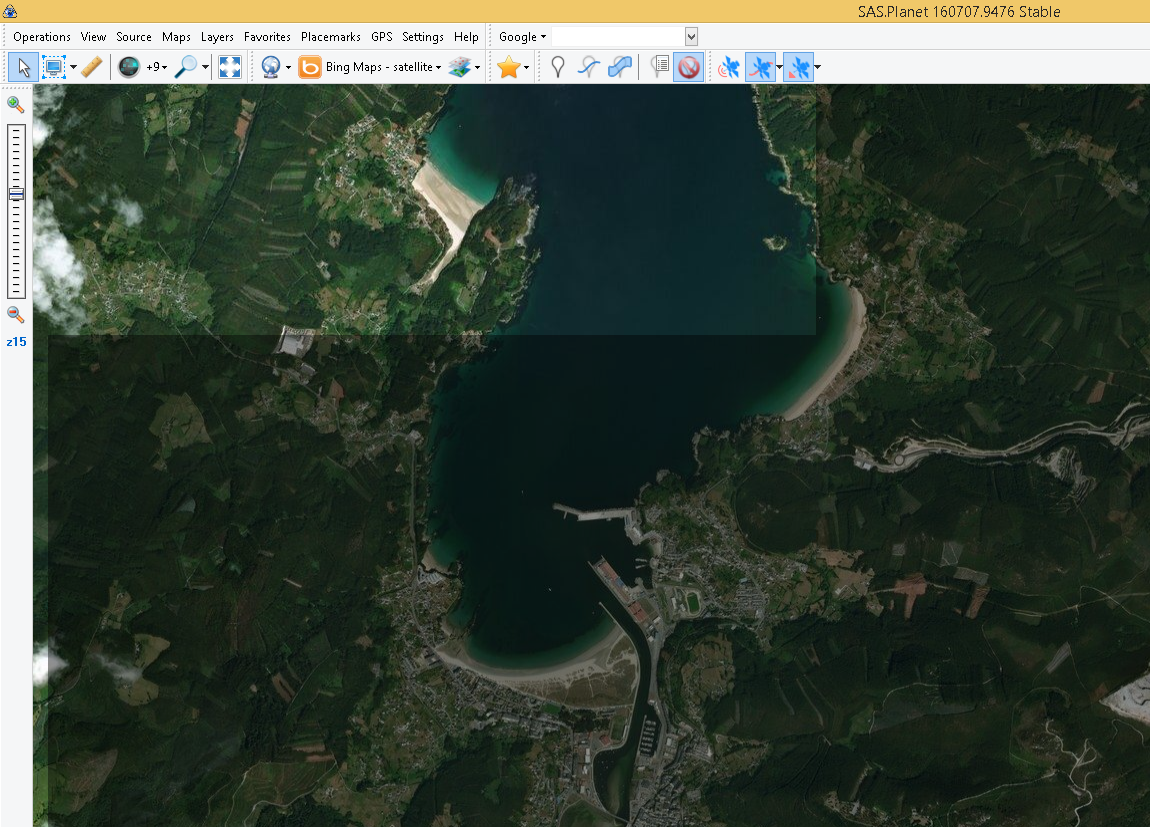
Open the map which will be used to create the GeoTiff. This time a topographical map from opentopomap is used.

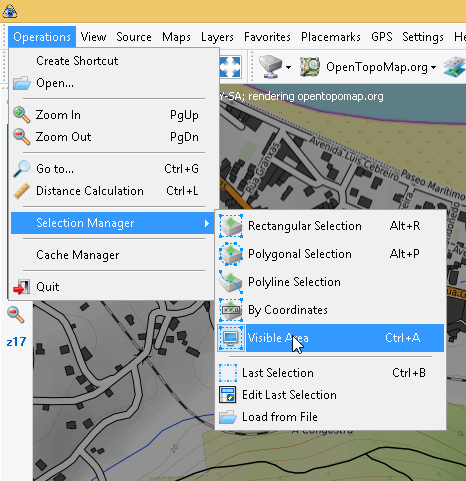
Select the area of the map to export as a GeoTiff.
Save as a GeoTiff in WGS84 Lat/Lon format.
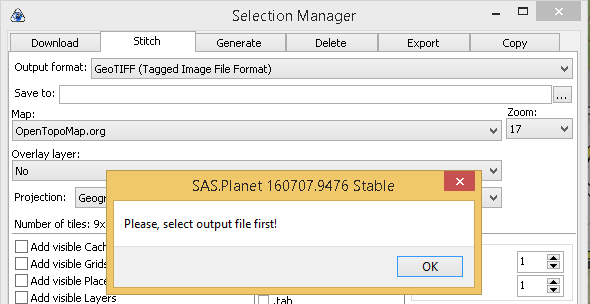
Remember to specify the file name and location for the GeoTiff!
The GeoTiff produced can be viewed in OpenCPN using PhotoLayer.
The hatching shows the limit if you try and zoom in too far with OpenTopoMaps in SASPlanet.
